How to Prepare Your Car for Shipping: Complete Checklist
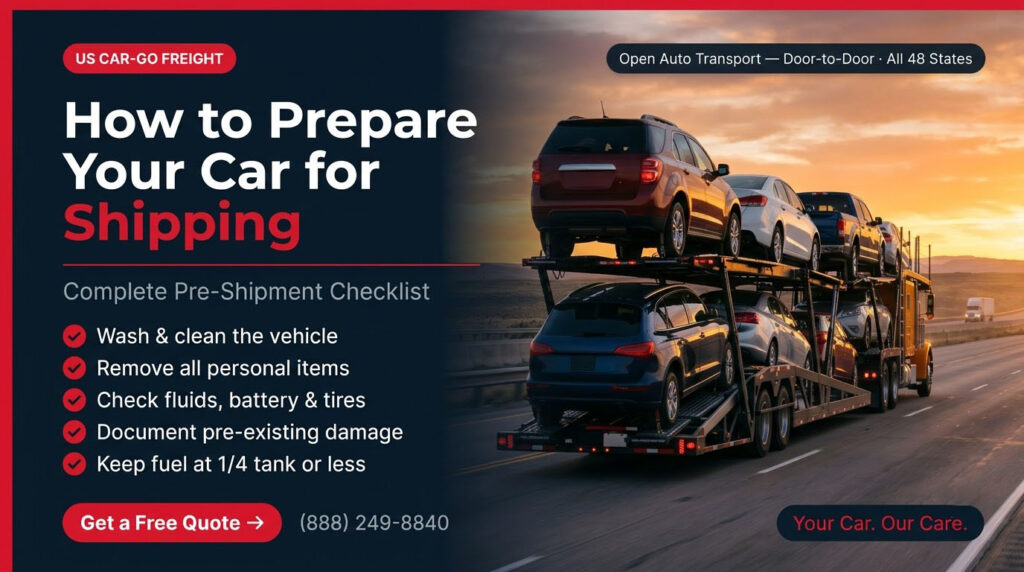
Table of Contents
How to Prepare Your Car for Shipping: Complete Checklist
Most car shipping problems — missed damage claims, delayed pickups, alarm incidents during transit — come down to one thing: the vehicle wasn’t ready when the carrier arrived.
The process of preparation will take approximately one hour the day before the time of pickup. Here is a list of things that both you and your driver should have in mind.
The Short Version: Car Shipping Checklist
Run through these before pickup day:
- Wash the exterior so existing damage is visible
- Photograph all four sides, the roof, and any existing damage
- Fuel tank at one-quarter — no more than half
- Remove all personal items from the cabin and trunk
- Disable aftermarket alarms
- Remove or deactivate toll transponders (E-ZPass, SunPass, etc.)
- Leave one set of keys with the driver; remove all spares from the vehicle
- Confirm your pickup location is accessible to a large truck
- Walk the vehicle with the driver and review the Bill of Lading before signing
The sections below explain why each item matters and what to watch for.
Step 1: Wash the Car and Document Its Condition
Wash the exterior before pickup — not to make the car look presentable, but to make existing damage visible. Dirt and grime hide scratches, chips, and dents that could otherwise become disputed claims at delivery.
Once the car is clean, photograph it thoroughly:
- All four sides from a distance (front, rear, driver’s side, passenger’s side)
- Close-ups of any existing scratches, dents, or paint chips
- The roof — especially important on SUVs and trucks
- Each wheel and the lower rocker panels
- The windshield for chips or cracks
Use your phone’s standard camera app so photos are automatically date-stamped. Take a short walk-around video as well — it captures angles a still photo might miss.
These photos are your protection at delivery. If damage appears after transport that wasn’t on the original Bill of Lading, your dated photos are the supporting evidence for a claim.
Step 2: Set the Fuel Level to One-Quarter Tank
Leave approximately one-quarter tank of fuel before pickup. Avoid filling above half.
Fuel adds weight. A full tank adds roughly 90–120 pounds to the vehicle, and carriers are load-limited by federal regulations. Excess fuel weight can cause loading complications, and some carriers will ask you to drain the tank if it’s full at pickup — which delays your entire schedule.
A quarter tank is enough to drive the car onto and off the transport truck, move it at a fuel stop if needed, and drive it from the delivery point to your destination.
For electric vehicles: Charge to 50–60% before pickup, not a full charge. Some carriers prefer EVs below 80% charge during transport for safety reasons. Confirm the preferred charge level with your broker when you book.
Step 3: Remove Personal Items and Accessories
Remove everything from the cabin, trunk, glove box, center console, and door pockets:
- Chargers, cables, and electronics
- Documents (keep the registration with you — you may need it)
- Child seats and car organizers
- Loose change, sunglasses, and anything that can shift during transport
Personal items inside the vehicle are not covered by the carrier’s cargo insurance during transport. If something is lost or damaged in transit, there is no recourse through the carrier’s policy.
Exterior accessories: Remove bike racks, cargo boxes, ski racks, and antenna toppers. Anything that extends beyond the vehicle’s standard profile can snag during loading or sustain damage in transit. If it can be removed in under five minutes, remove it.
Toll transponders and parking passes: Take your E-ZPass, SunPass, or any other toll transponder off the windshield entirely — or bag it and take it with you. A transponder left active on the windshield will log charges at every toll gate the truck passes through. Remove parking passes and hanging permits from the mirror as well.
Step 4: Disable Aftermarket Alarms
If your vehicle has an aftermarket alarm — one installed after the vehicle left the factory — disable it before pickup.
Aftermarket alarms are sensitive to the vibration and motion of transport. The alarm system, which keeps going off during the transportation process, may cause trouble during transportation, drain the battery, and delay the entire load. If the driver cannot disable a triggered alarm, it may cause a stop that affects every vehicle on that truck.
The factory alarm that came with your vehicle is generally not an issue. Carriers handle standard manufacturer systems routinely. The problem is third-party alarms — especially older units without a standard key fob — that respond to motion in unpredictable ways.
When there are no instructions on how to turn off the alarm system, check the alarm manual or contact the installer. This should be done before the pickup date and not on the morning that the driver arrives.
Step 5: Check Basic Mechanical Readiness
The vehicle needs to be drivable — not road-trip ready, just operable enough for the driver to load it onto the truck and unload it at delivery.
Check these before pickup:
- Battery: Should hold a charge. If the battery is marginal, have it tested before pickup day.
- Tires: Inflate to standard pressure. A flat or significantly underinflated tire complicates loading.
- Fluids: Address any active leaks. A dripping oil or coolant leak can damage other vehicles on the same carrier load.
- Brakes: The vehicle needs to roll and stop normally for loading and unloading.
You do not need to fix cosmetic issues or non-critical mechanical problems — just confirm the car can be driven the short distance required to get it on and off the truck.
Non-running vehicles: If your vehicle doesn’t start or cannot be driven, tell the broker before booking — not at pickup. Specialized equipment like a winch and dolly will be needed if your vehicle isn’t a runner, and not all the carriers carry it. It’s better to say it at the very beginning to avoid any kind of cancellation.
Step 6: Confirm Pickup Location Accessibility
Large auto transport trucks are typically 75–80 feet long. They cannot always access residential driveways, narrow streets, or gated communities. If your pickup location has any of these features:
- Low-hanging trees or power lines
- Tight turns or narrow street entries
- A height-restricted gate or garage
- A steep driveway incline
Plan a nearby alternative meeting point. A large parking lot or a wide street two or three blocks away works fine. Let your broker know about the access situation when you book — not when the driver is already there trying to fit a semi onto your street.
Step 7: Prepare for the Pickup Walkthrough
The most important part of the entire preparation process happens in the ten minutes before the driver leaves.
Walk around the vehicle together. Both you and the driver inspect the car and note its current condition on the Bill of Lading — the official condition report that travels with the vehicle to its destination. The driver will note every existing scratch, dent, and damage point. You should verify that everything you photographed in Step 1 is captured on the form.
Read the Bill of Lading before you sign it. If anything is missing or recorded incorrectly, say so before you sign.
Keep a copy, or photograph the signed form. At delivery, you will complete a second condition inspection. Any damage appearing on the Delivery Report that is not on the Bill of Lading at the time of loading will be the subject of the damage claim.
If you cannot be present at the pickup, authorize a person who can access the vehicle, conduct an inspection along with the driver, and sign the Bill of Lading on your behalf. The walkthrough is too important to skip — do not leave the car accessible with no one present to review the condition report.
Modified, Lowered, or Specialty Vehicles
If your vehicle has been modified — lowered suspension, oversized wheels, wide-body kit, custom exhaust — disclose this to your broker at booking, not at pickup.
Lowered vehicles require ramp adjustments during loading and may need carriers with extra clearance. A broker who knows about modifications in advance can assign appropriate equipment. A driver who discovers a lowered vehicle at pickup may not have the right setup and may have to cancel and reschedule.
The same applies to extra-long vehicles, vehicles with manual transmissions, and any car with an unusual operating feature — push-button ignition, non-standard fuel door, or a release that’s not immediately obvious. Write it in the booking notes. The more the broker knows, the better the carrier match.
What to Have Ready When the Driver Arrives
When the carrier shows up for pickup, have these items ready:
- One set of keys — the driver needs them for loading and unloading; remove all other sets from the vehicle
- A copy of your ID if your broker requires it for identity verification
- Your booking confirmation so the driver can confirm the details match
You do not need to leave the title, registration, or insurance card in the vehicle. Keep those documents with you.
FAQs About Car Shipping Preparation
How much fuel should I leave in my car for shipping?
One-quarter tank. That’s enough for the car to be driven on and off the transport truck and moved short distances at stops. Don’t go above half — the added weight creates loading complications, and some carriers will ask you to drain the tank if it arrives full.
Do I need to wash my car before shipping?
Yes. Wash the exterior before pickup so existing damage is clearly visible. The Bill of Lading condition report is documented on a clean car, and your pre-shipment photos serve as evidence if there’s a damage dispute at delivery.
Can I leave personal items in my car during shipping?
No. Remove everything from the cabin and trunk. Personal belongings are not covered by the carrier’s cargo insurance, and there is no recourse through the carrier if something is lost or damaged.
Do I need to disable my car alarm?
Disable any aftermarket (third-party) alarm before pickup. Transport vibration can trigger these alarms repeatedly, which drains the battery and can delay the entire carrier load. Factory alarms that came with the vehicle are generally handled routinely by drivers.
What is a Bill of Lading?
It’s the condition report the driver completes at pickup, recording every existing scratch, dent, and damage before the car goes on the truck. Walk the vehicle with the driver, confirm all existing damage is noted, read the form before signing, and keep a copy. At delivery, this document — compared to the delivery inspection — determines whether any new damage occurred in transit.
What if I can't be at pickup?
Designate someone who can access the vehicle, complete the walkthrough with the driver, and sign the Bill of Lading. Do not leave the car accessible with no one present — the pre-shipment condition walkthrough is the single most important step for protecting yourself if damage occurs.
Ready to Book Your Car Shipment?
Now that your vehicle is ready, the next step is booking with a carrier you can trust. Request your free instant quote today and experience why thousands of customers trust US Car-Go Freight for door-to-door auto transport across all 48 states. Whether you’re choosing open transport for a standard vehicle or enclosed transport for a luxury or classic car, we’ll match you with the right carrier for your route.
Recent Posts.
- How to Prepare Your Car for Shipping: Complete Checklist
 How to Prepare Your Car for Shipping: Complete Checklist Table… Read more: How to Prepare Your Car for Shipping: Complete Checklist
- Why Choose US Car-Go Freight Logistics for Car Shipping?US Car-Go Freight Logistics Shipping a car to another state… Read more: Why Choose US Car-Go Freight Logistics for Car Shipping?
- Door-to-Door Car Shipping: A Convenient and Affordable Auto Transport SolutionUS Car-Go Freight Logistics Introduction Shipping a vehicle across the… Read more: Door-to-Door Car Shipping: A Convenient and Affordable Auto Transport Solution